The Work: How to Read a Finished Yard Photo
This page is a guide to looking at a photo of a finished patio, wall, walkway or lawn and judging the work behind it. It covers the details the eye can read, the figures that sit behind them, and what a photo cannot show. The photos on this site are illustrations, and none of them is a project the owner built.
What a photo can and cannot tell you
A photo is good at showing the surface, the colour, the pattern and the setting. It is poor at showing what lies under the surface, and that is where much of a job’s life is decided. So before you judge a finish, ask what the picture leaves out, then read what it does show.
A photo shows the top of a job. Most of what makes it last sits in the layers the camera cannot reach, so read the top as a set of clues about the rest.
Read every photo in four passes: the joints and edges, the transitions between materials, the lines water would take, and the spacing of plants. Each pass asks a question a stranger can answer from the picture alone, and each answer is a hint rather than a verdict.
Three figures behind a good finish
These figures come from published guidance, with the source named beside each one. They describe how the work is usually built. They are not prices, and they are not taken from any job.
4 in.
The minimum compacted base under an interlocking paver patio or walk on well-drained soil. Where cold climates keep the soil wet or weak, the guide says the base should be thicker.
1:6 to 1:10
The typical batter, or lean back, of a dry-laid stone wall, written as run to rise. A wall that leans back this much is built to stand, not to look straight.
Source: Fine Homebuilding, Stone Walls That Stay Built, a trade magazine
At or 1 to 2 in.
Where the trunk flare of a newly planted tree or shrub should sit, relative to the existing soil level: at it, or one to two inches above it.
Source: UMass Amherst Extension, Fall Planting for Trees and Shrubs
Read the joints, edges and transitions
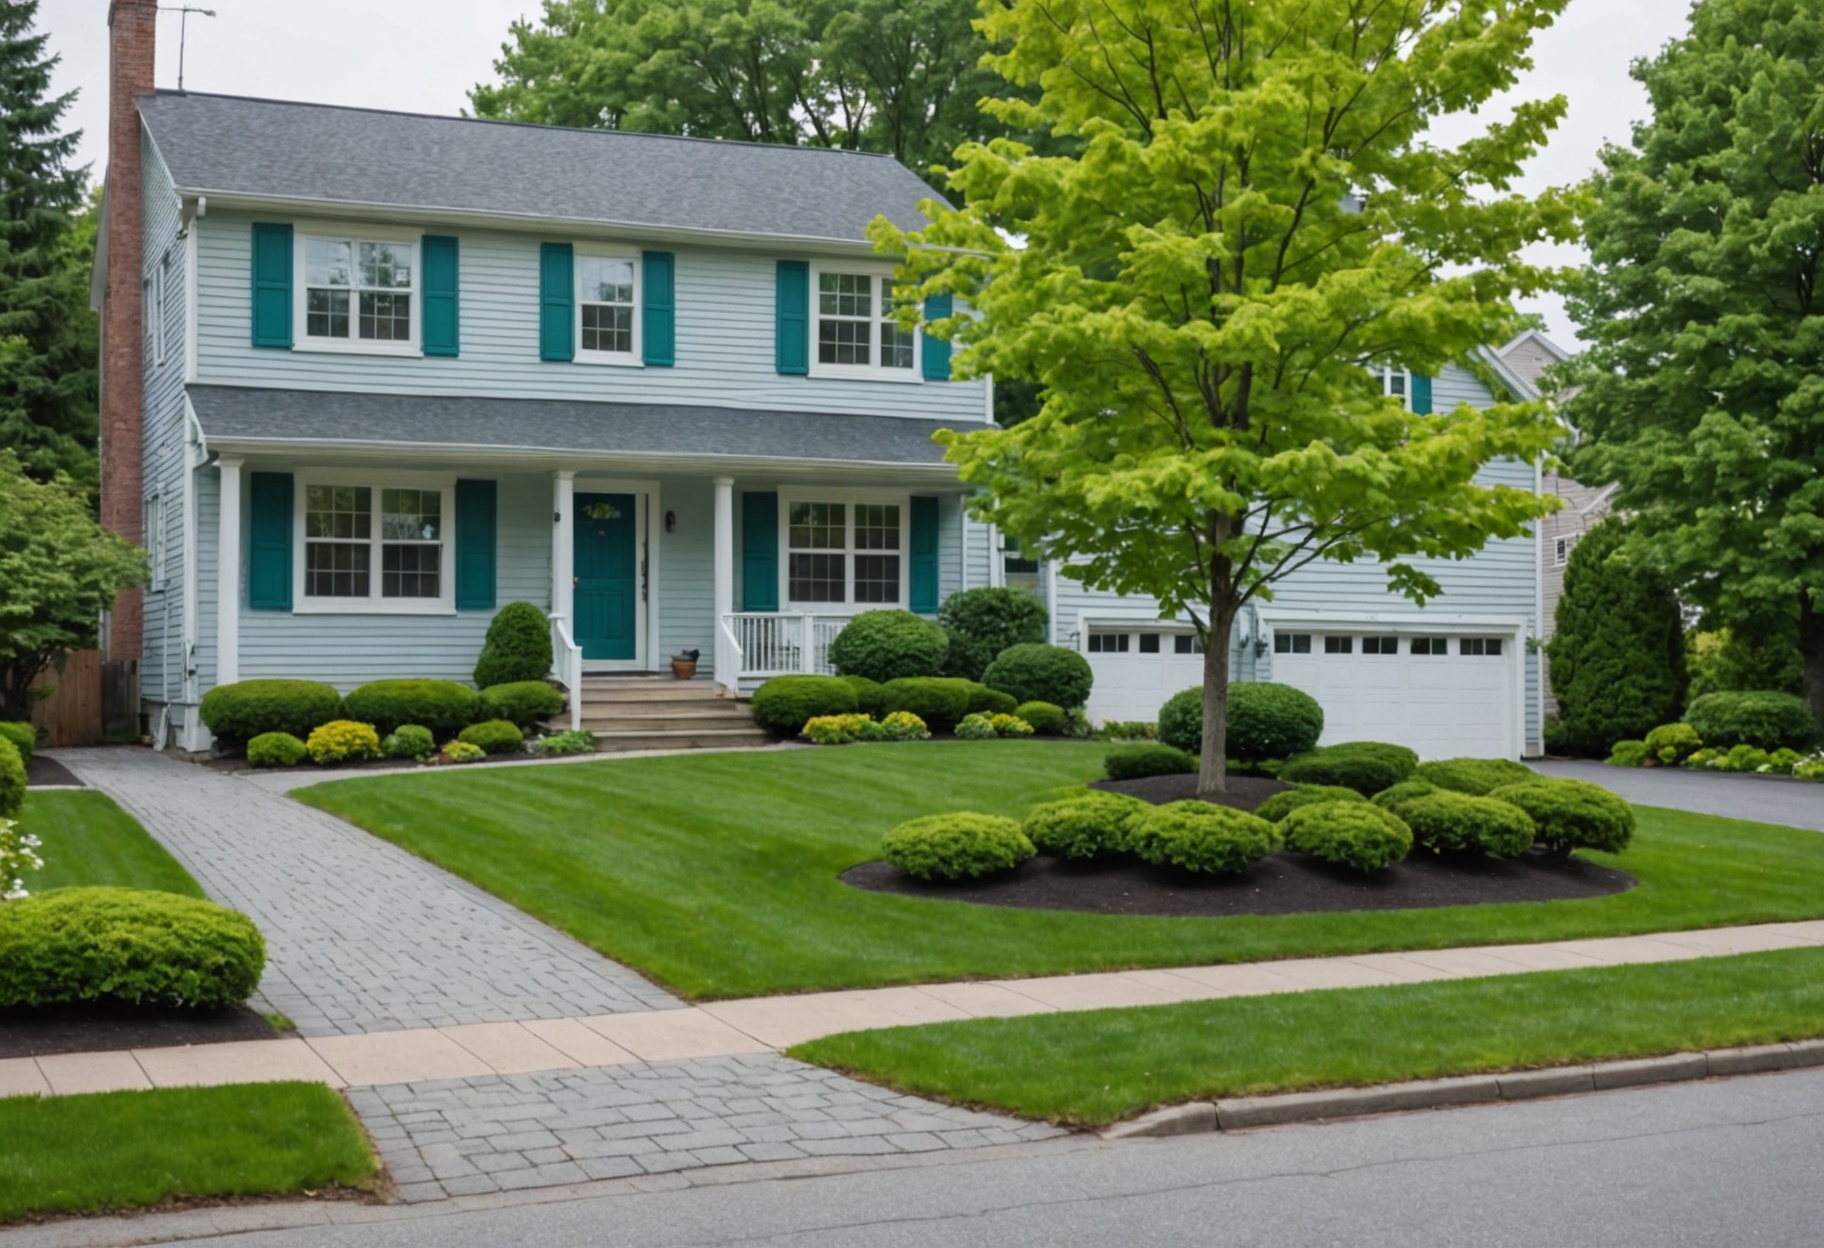
Start with the joints, the seams between stones or pavers. An even, tight seam is a sign of care in the setting and the filling, while a seam that gapes, dips or shows weeds is the first trouble a photo can offer. Next, look at the edge. A walkway or patio that ends in a clean line against lawn or bed was held in place at that edge, while a soft or ragged border suggests the material had nothing holding it.
Then look at the transitions, where one material meets another, such as a patio meeting a lawn or a step rising to a path. A small, deliberate step reads as planned. A sudden drop or a bare patch of soil at the join suggests the surface was finished without the ground around it being thought through. Last, look for the lines water would take, a gentle fall away from the house or a bed that sits lower than the path. A photo can only hint at drainage, so treat it as a question to ask, not an answer.
Plant spacing and the setting
Plants show the work in their own way. A tree or shrub set with its flare just at the soil line, or a little above it, follows the planting practice in the figures above, and that is the first thing to check in a photo of a new planting. A shrub crowded against a wall or path, or packed so tightly that the bed looks full on the day it goes in, raises the question of what it will look like in a few seasons. Spacing that leaves room for the plant at its mature size is the detail that keeps a bed looking the way the photo does.
Where the planning begins
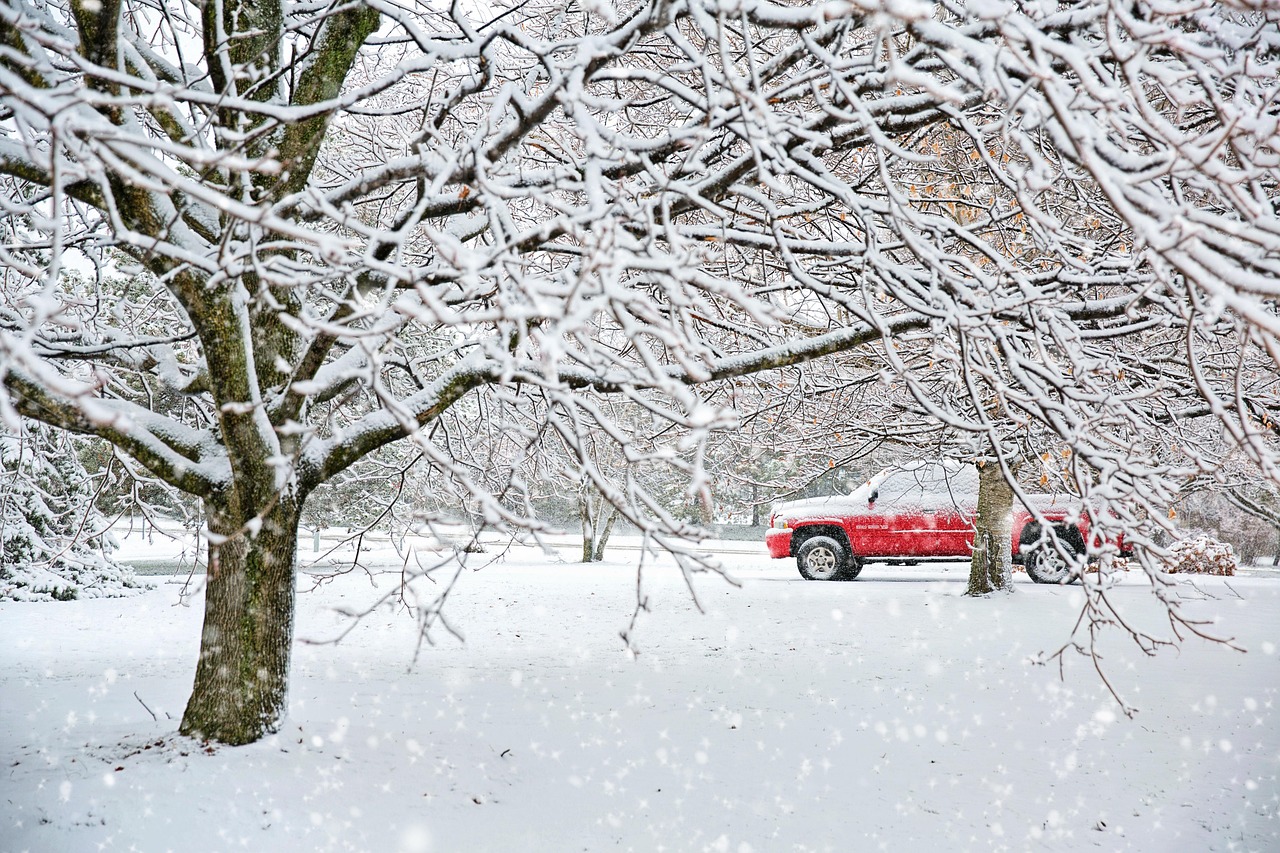
The finish is the last thing decided on a job, not the first. The order the work is done in, and what sits under the surface, settle most of how the finish holds. That order is the subject of the planning page, so read a photo here for the finish, then go there for the sequence.